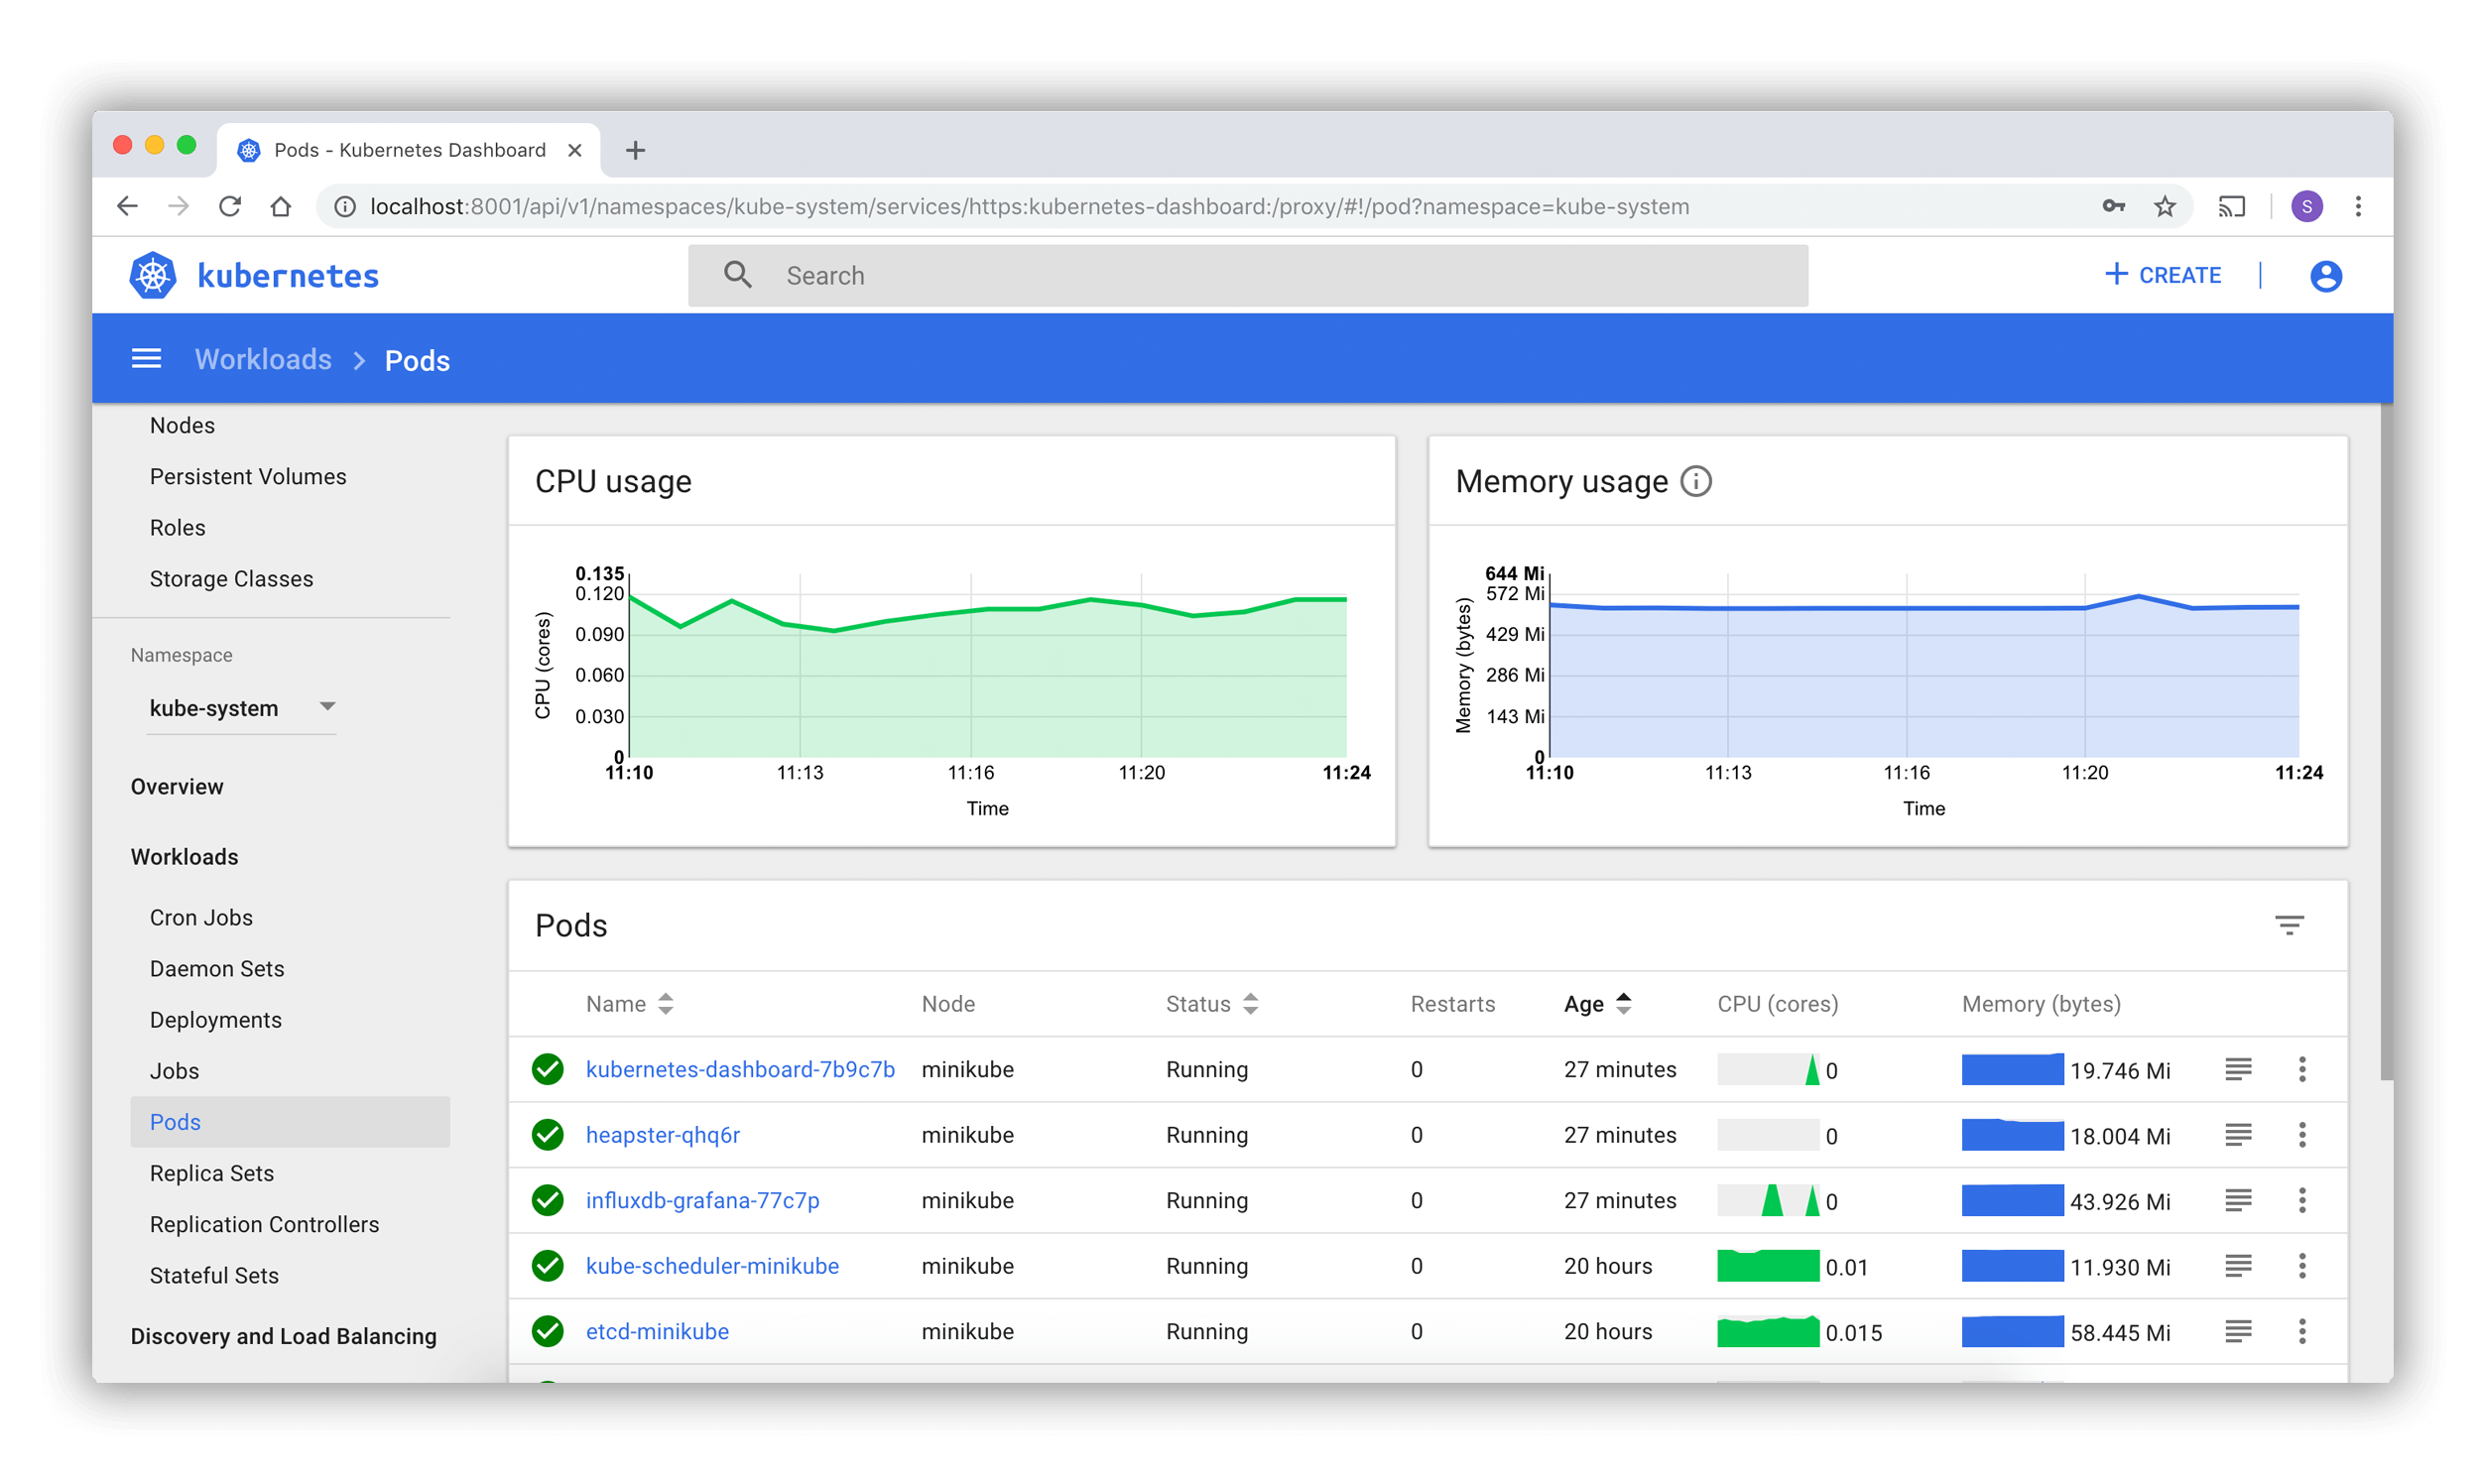
K8s - Dashboard Setup

-
Download and deploy dashboard.yaml
wget https://raw.githubusercontent.com/kubernetes/dashboard/v2.4.0/aio/deploy/recommended.yaml kubectl apply -f dashboard.yaml -
Next step is to check all the resources by the below command
kubectl get all -n kubernetes-dashboard
-
Change the Dashboard Service type from
ClusterIPtoNodePortkubectl edit service/kubernetes-dashboard -n kubernetes-dashboard
change to

-
Now, check if the service was changed successfully by giving the following command:
kubectl get svc -n  kubernetes-dashboard

NAME                        TYPE        CLUSTER-IP     EXTERNAL-IP   PORT(S)         AGE
dashboard-metrics-scraper   ClusterIP   10.96.21.33    <none>        8000/TCP        23m
kubernetes-dashboard        NodePort    10.97.169.90   <none>        443:32321/TCP   23m
-
Now, you can access the dashboard at
https://<Your IP>:32321example:
https://192.168.0.124:32321 -
Create a Service Account to login with Token:
vim k8s-serviceaccount.yml

#Add the follwing content

#creating a service account with admin-users
apiVersion: v1
kind: ServiceAccount
metadata:
  name: admin-user
  namespace: kubernetes-dashboard
---
#Creating a Service Role Binding
apiVersion: rbac.authorization.k8s.io/v1
kind: ClusterRoleBinding
metadata:
  name: admin-user
roleRef:
  apiGroup: rbac.authorization.k8s.io
  kind: ClusterRole
  name: cluster-admin
subjects:
- kind: ServiceAccount
  name: admin-user
  namespace: kubernetes-dashboard
Now,
kubectl create -f k8s-serviceaccount.yml- After successful creation of the service account, perform the below set of commands:
kubectl get sa -n kubernetes-dashboardkubectl describe sa admin-user -n kubernetes-dashboard
- Accessing the token:
kubectl describe secrets dashboard-admin-token-z9jfh -n kubernetes-dashboard
Now, copy the token and paste it on the dashboard URL to access Dashboard
References: https://kubernetes.io/docs/tasks/access-application-cluster/web-ui-dashboard/